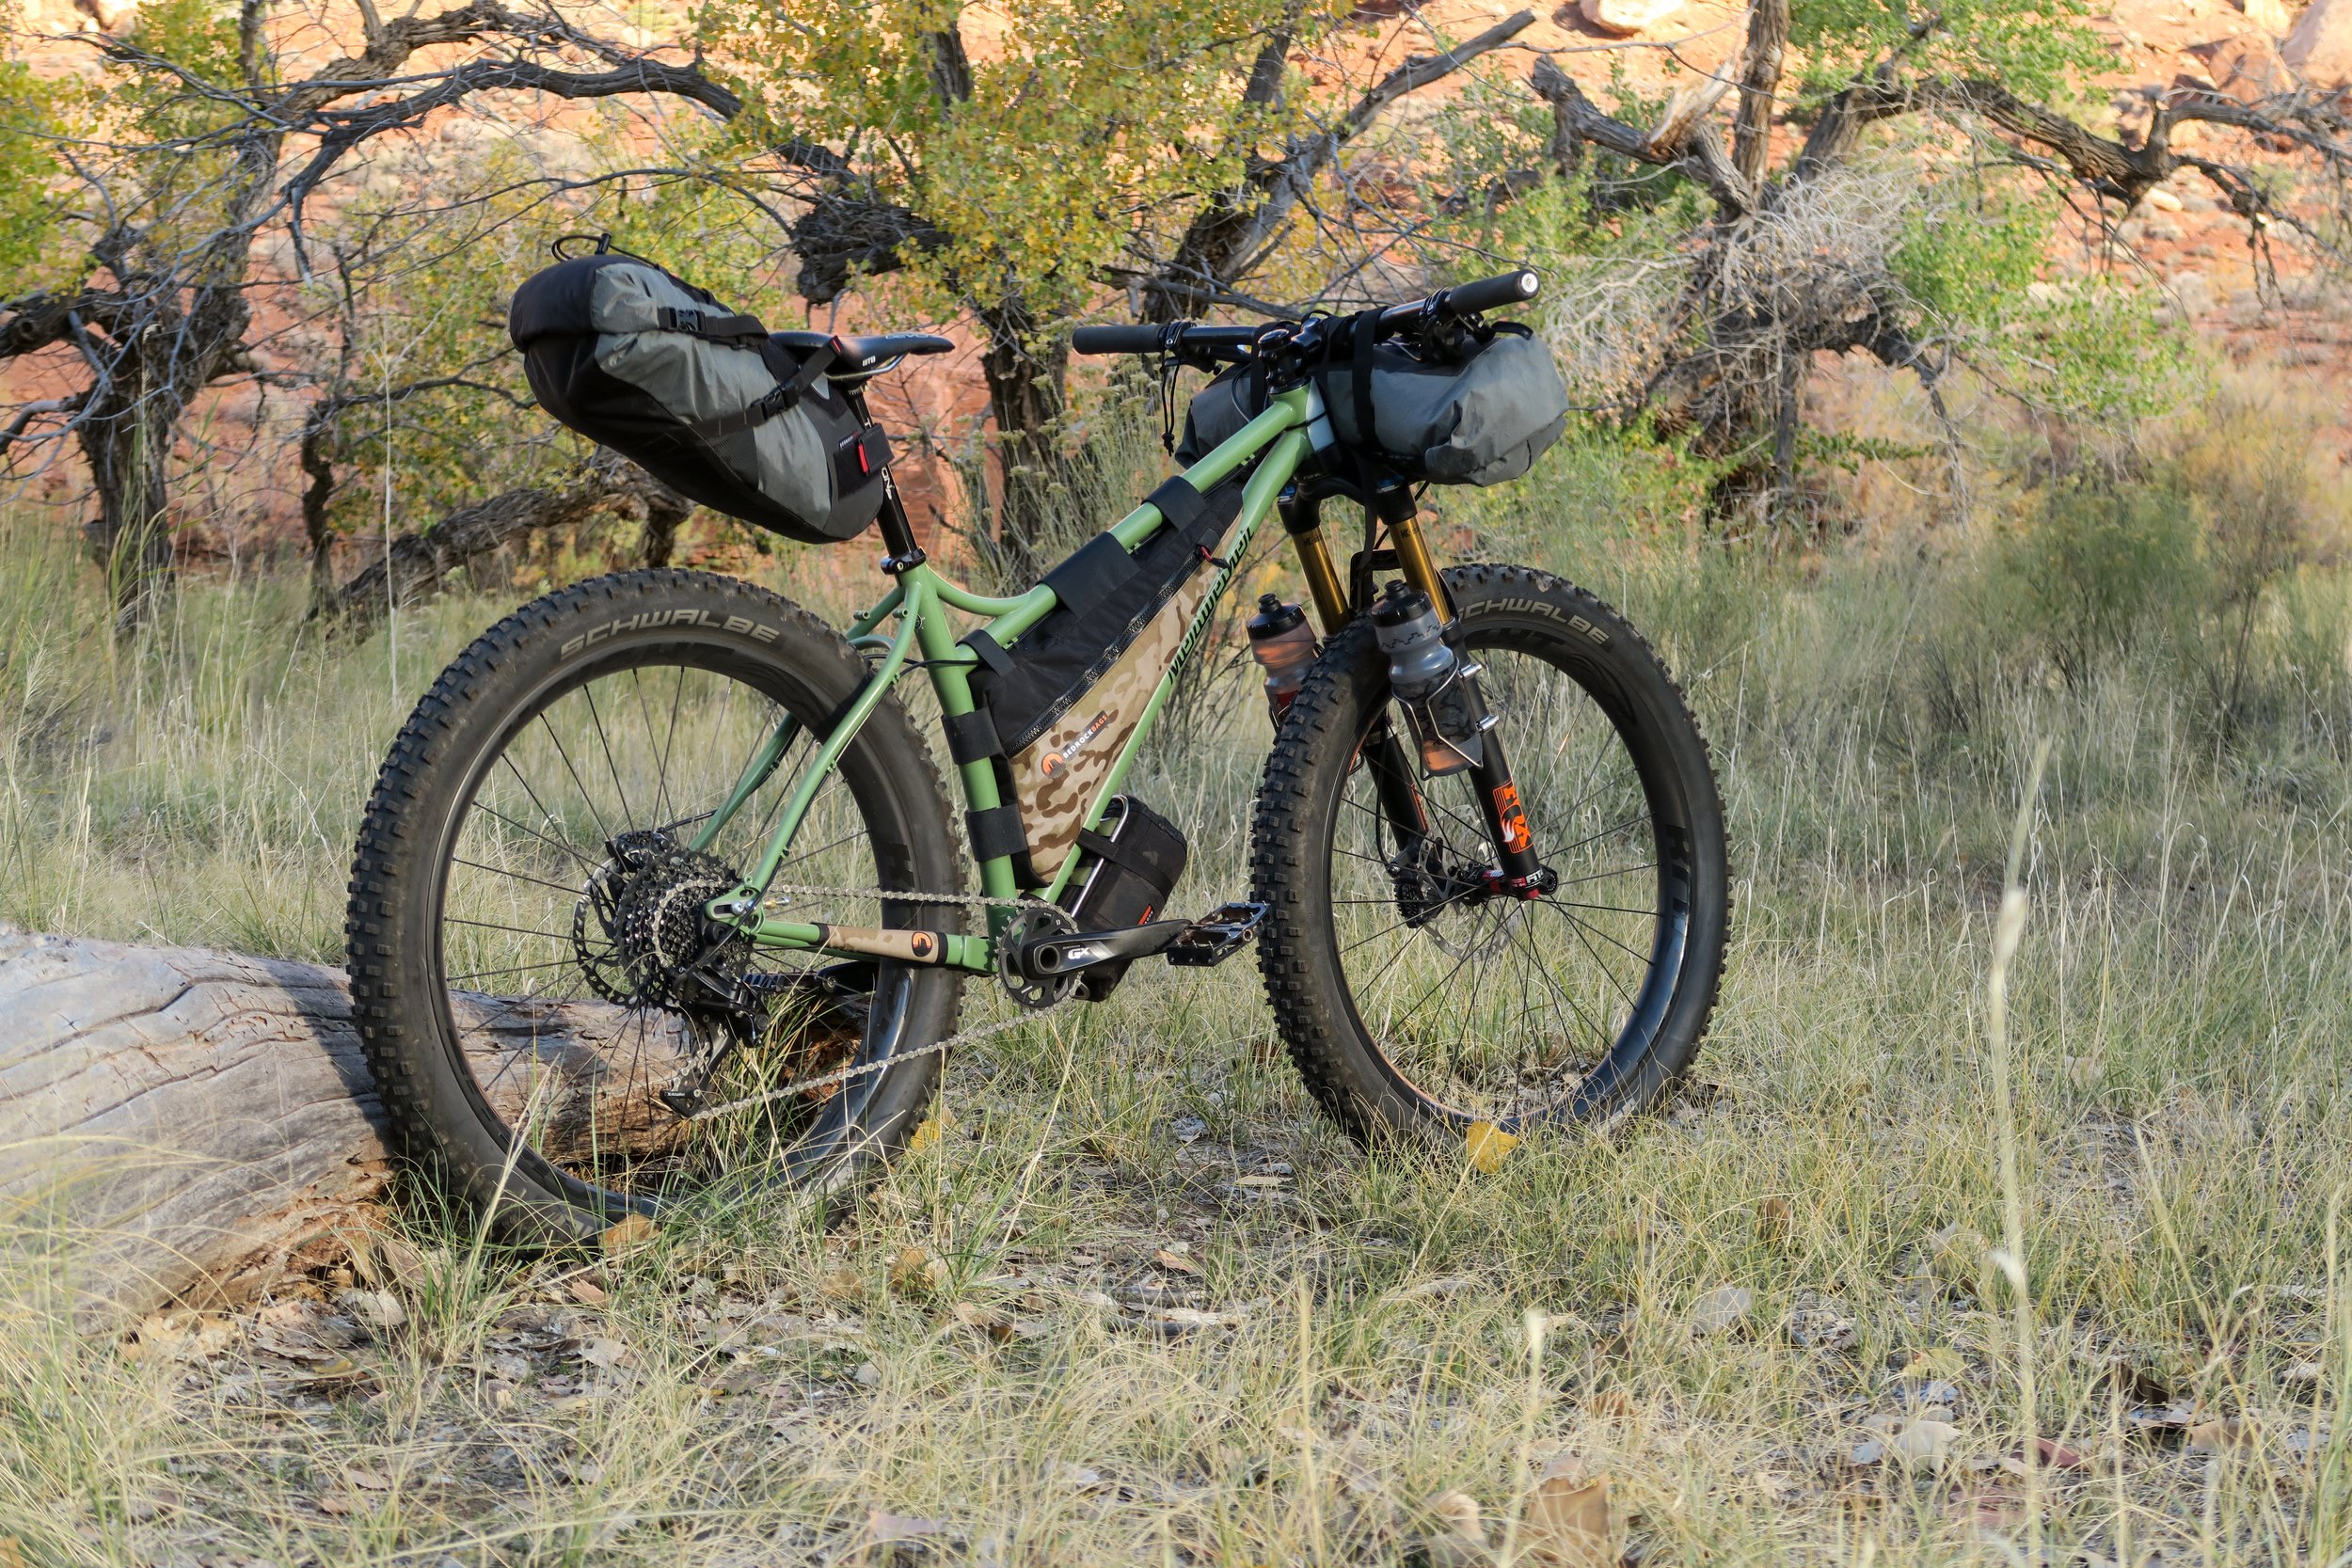
The Entrada is one of our full-size, full-featured handlebar bags, built for use on rugged terrain. We make it in versions for both flat/riser and drop/Jones handlebars. The Entrada is best used with stems 70-80mm and longer. For stems shorter than 70mm, see our Moab Handlebar Bag.
- No bounce or movement on even the roughest trails
- Includes easy access pocket for on-the-go use
- Keeps gear weight close to the steering axis for ideal handling
- Handcrafted using durable, waterproof materials - details here.
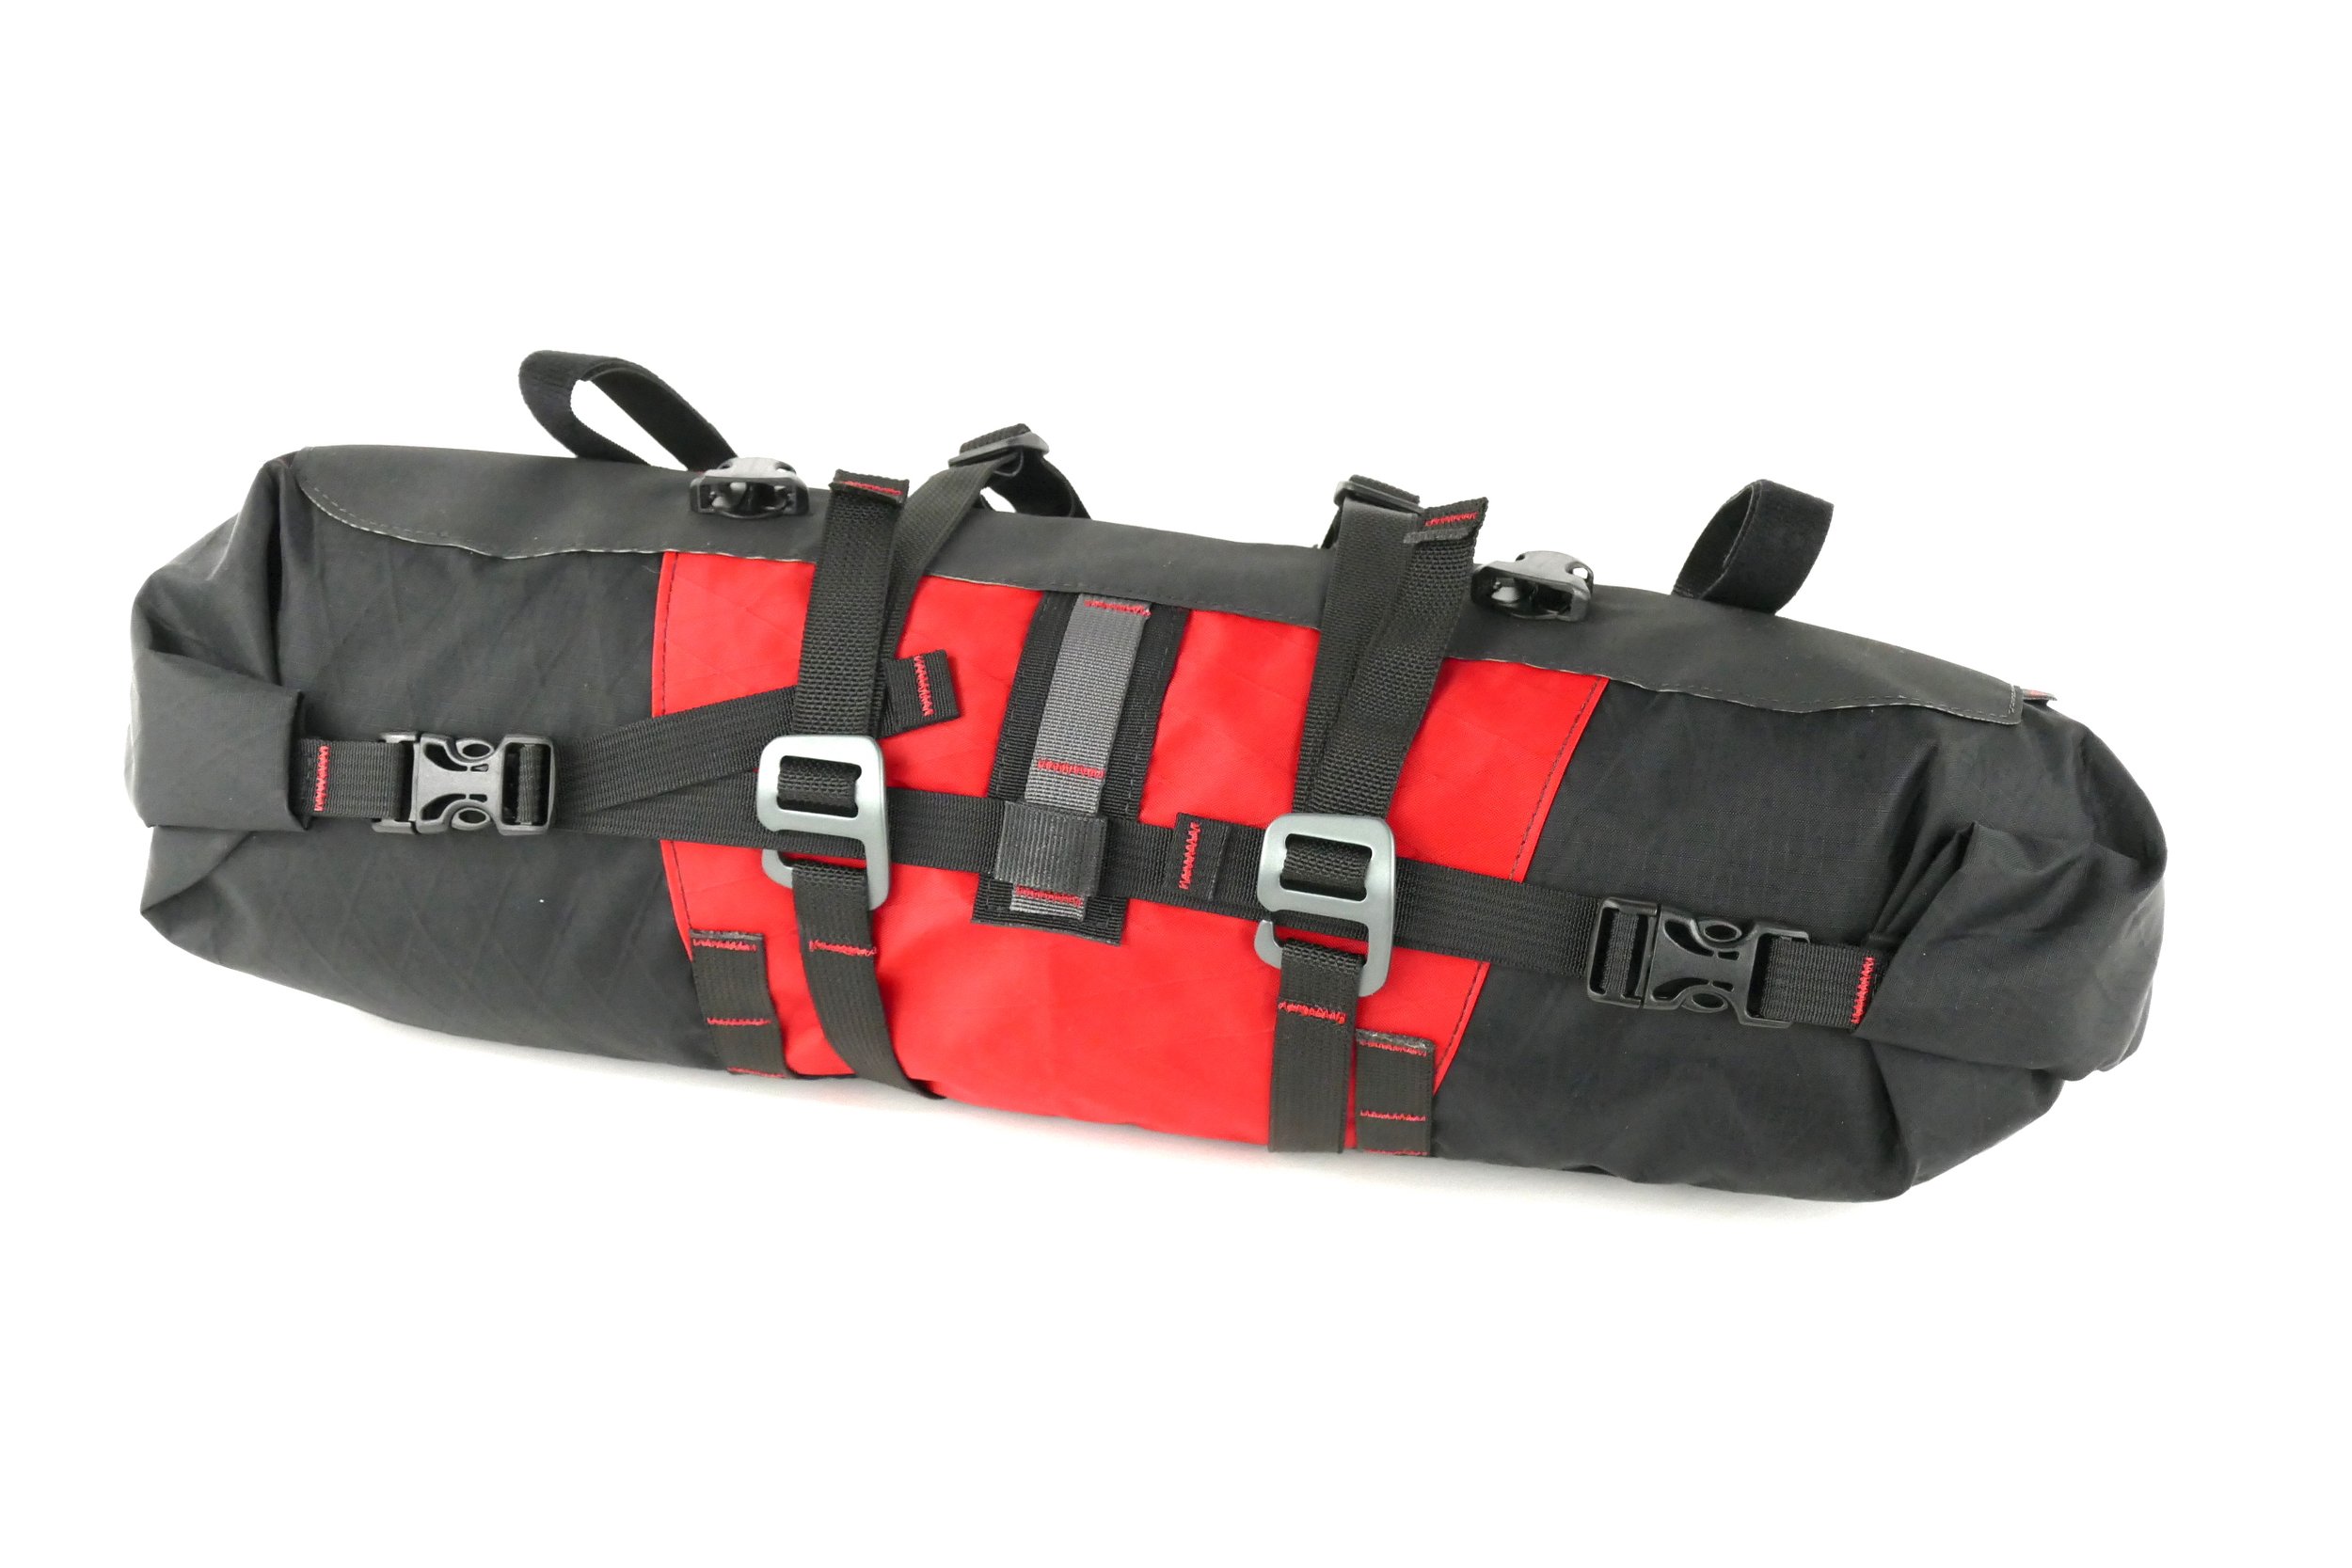
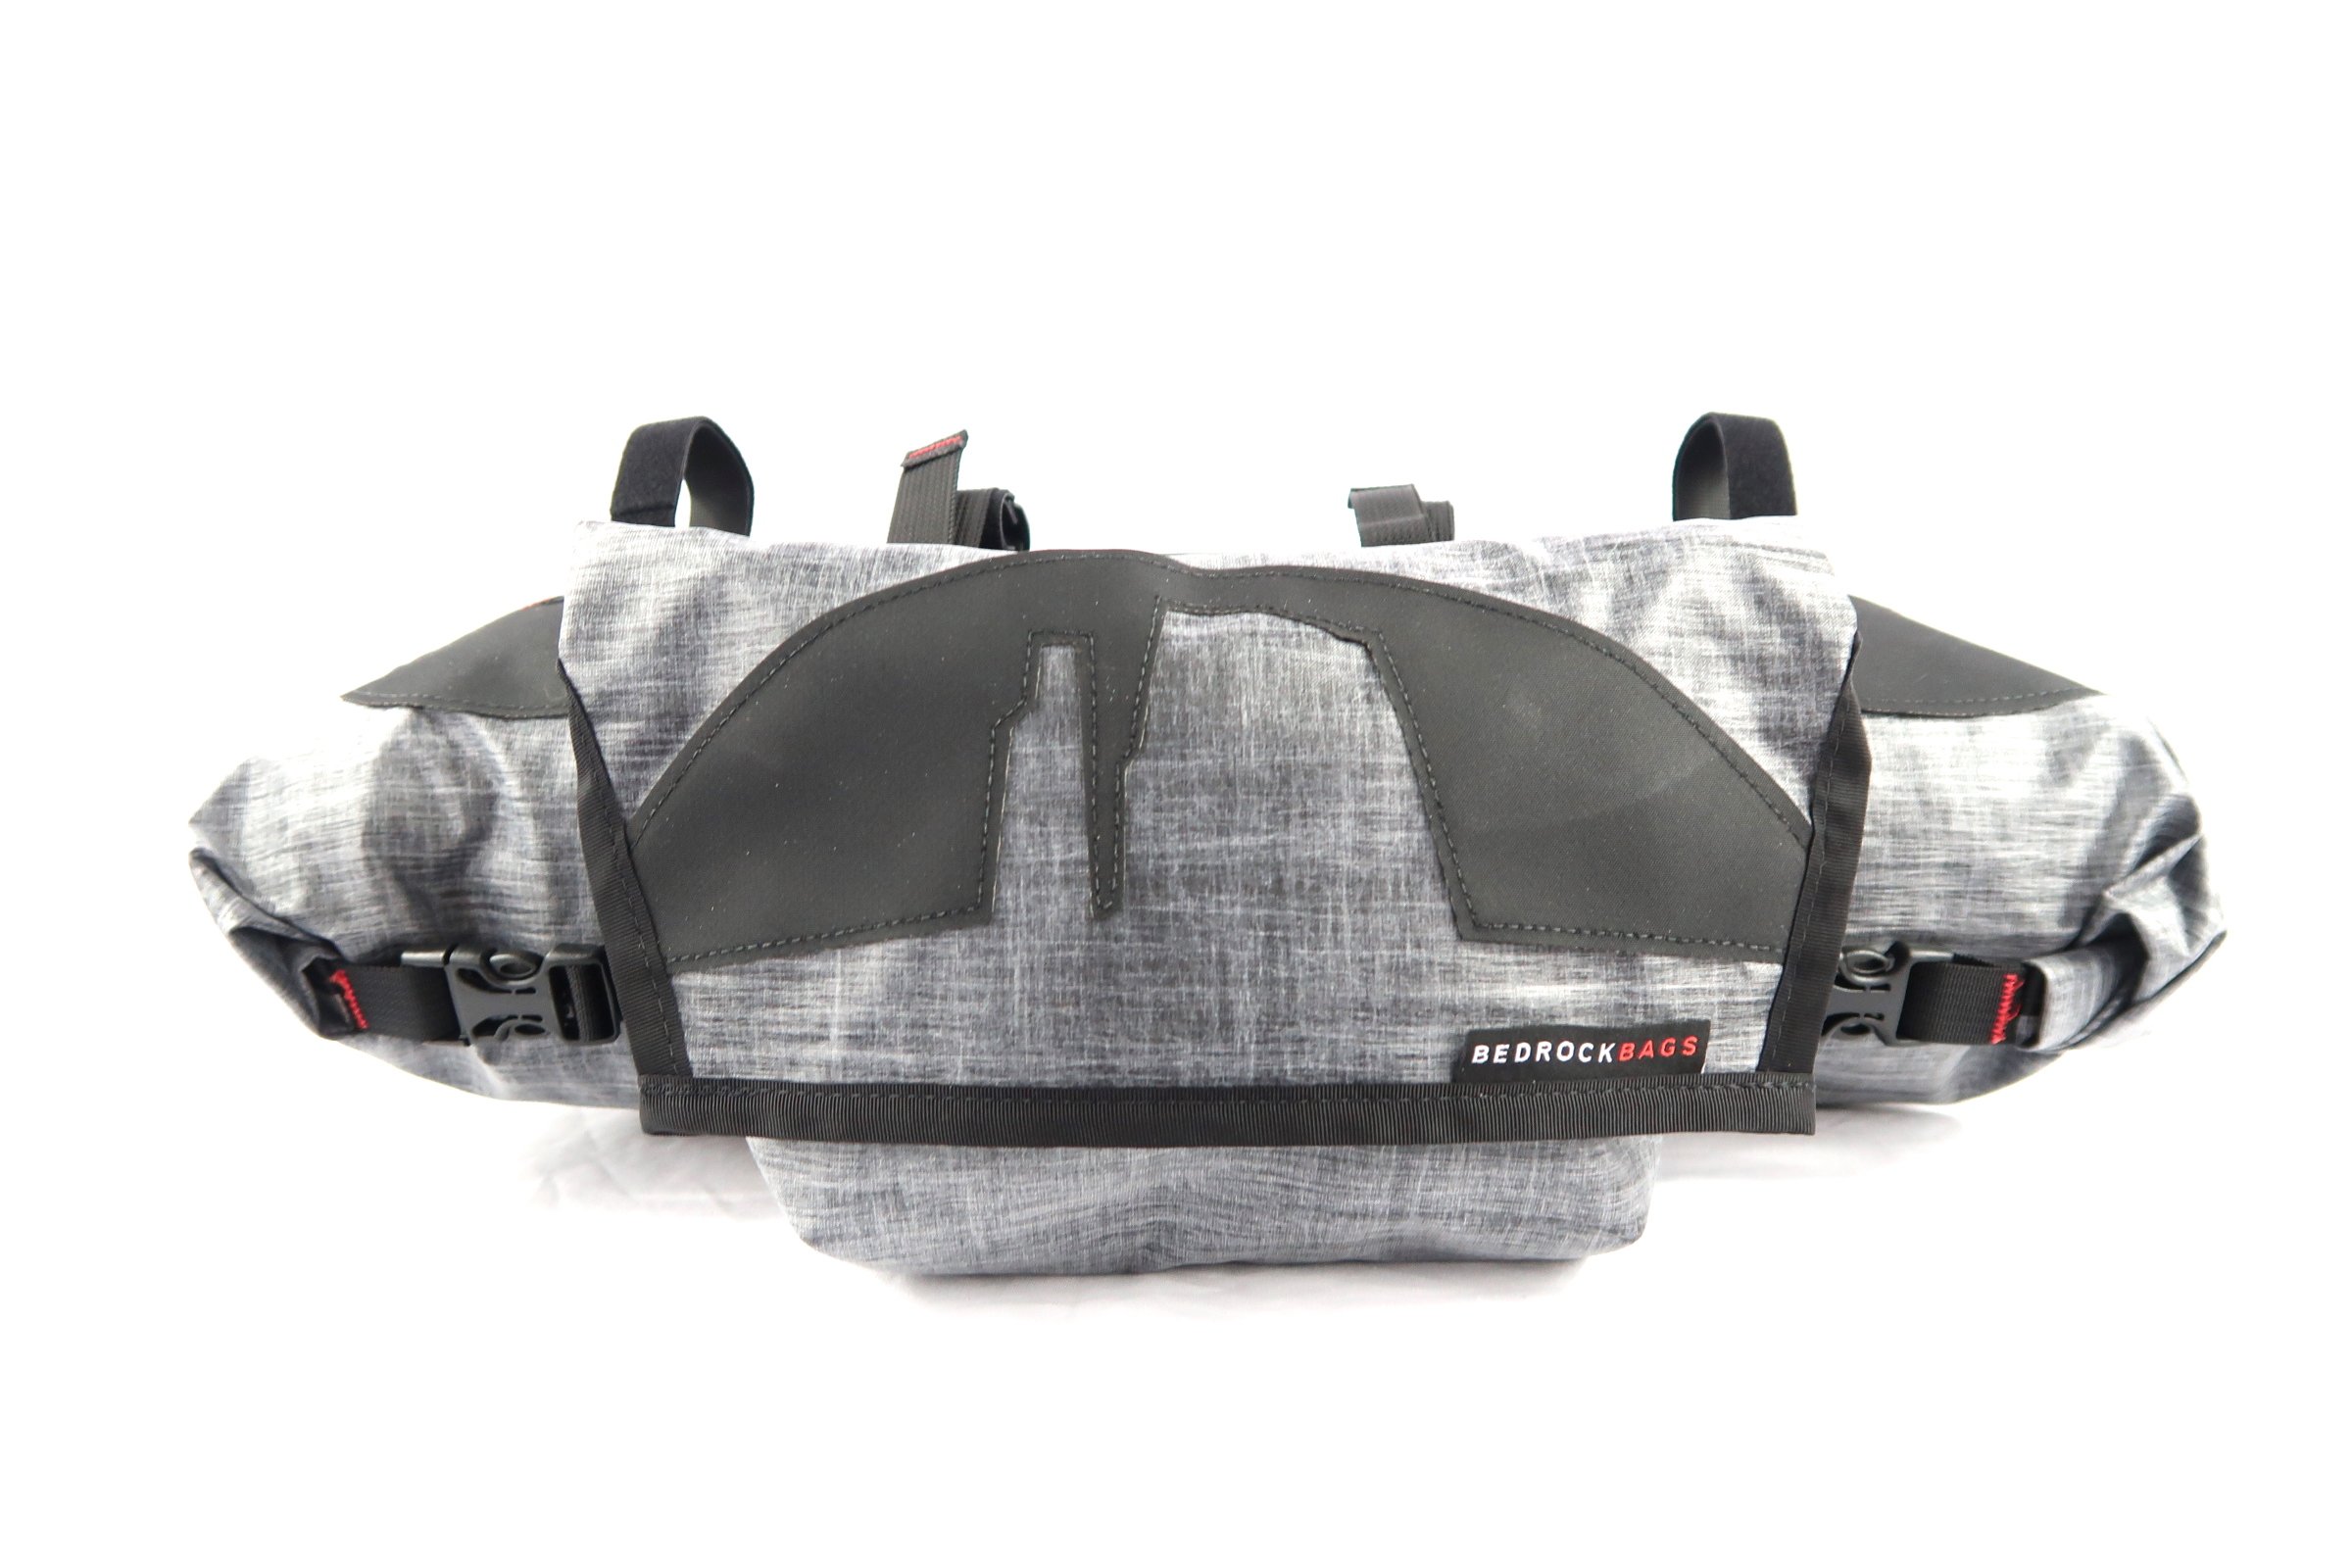
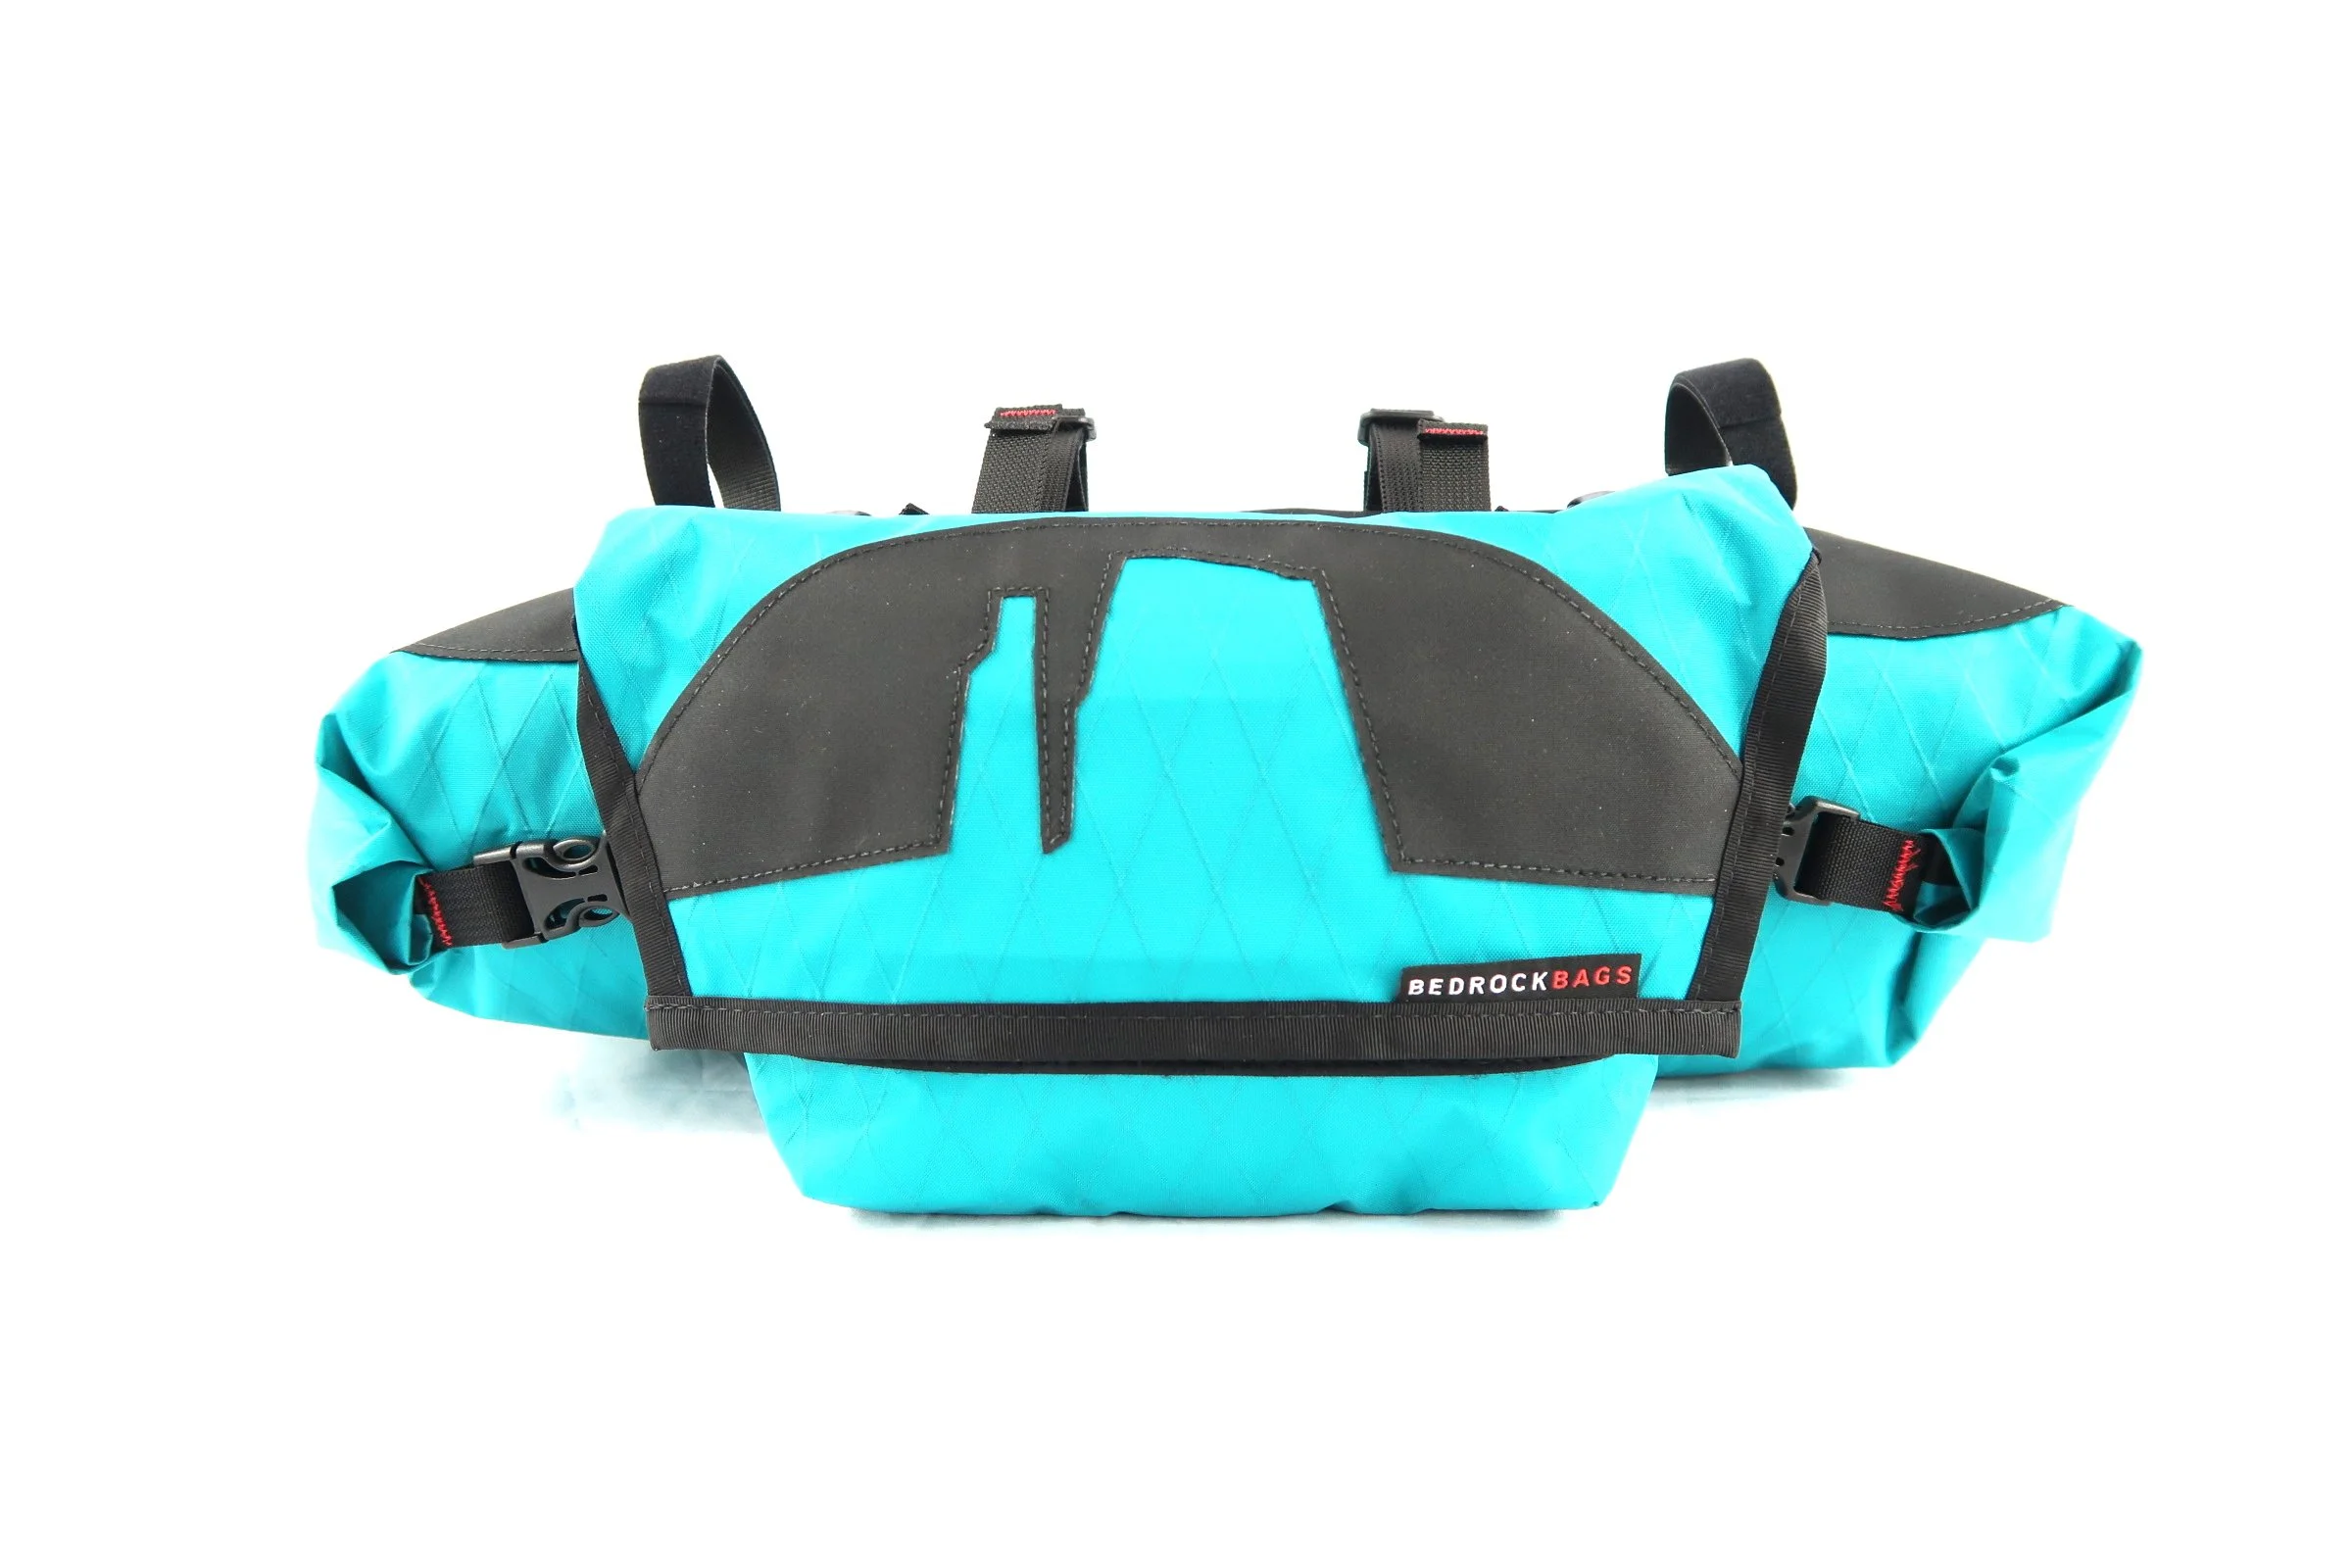
Our Entrada Handlebar Bag has been in our lineup since the beginning, with several generations of improvements. The current Entrada features a new mounting system, a new pocket design, and the ability to use the bag without the pocket. We kept our favorite parts of the previous generations – an absolutely rock-solid ride, end closures with lateral compression straps, and a folding pocket that sheds water very well.
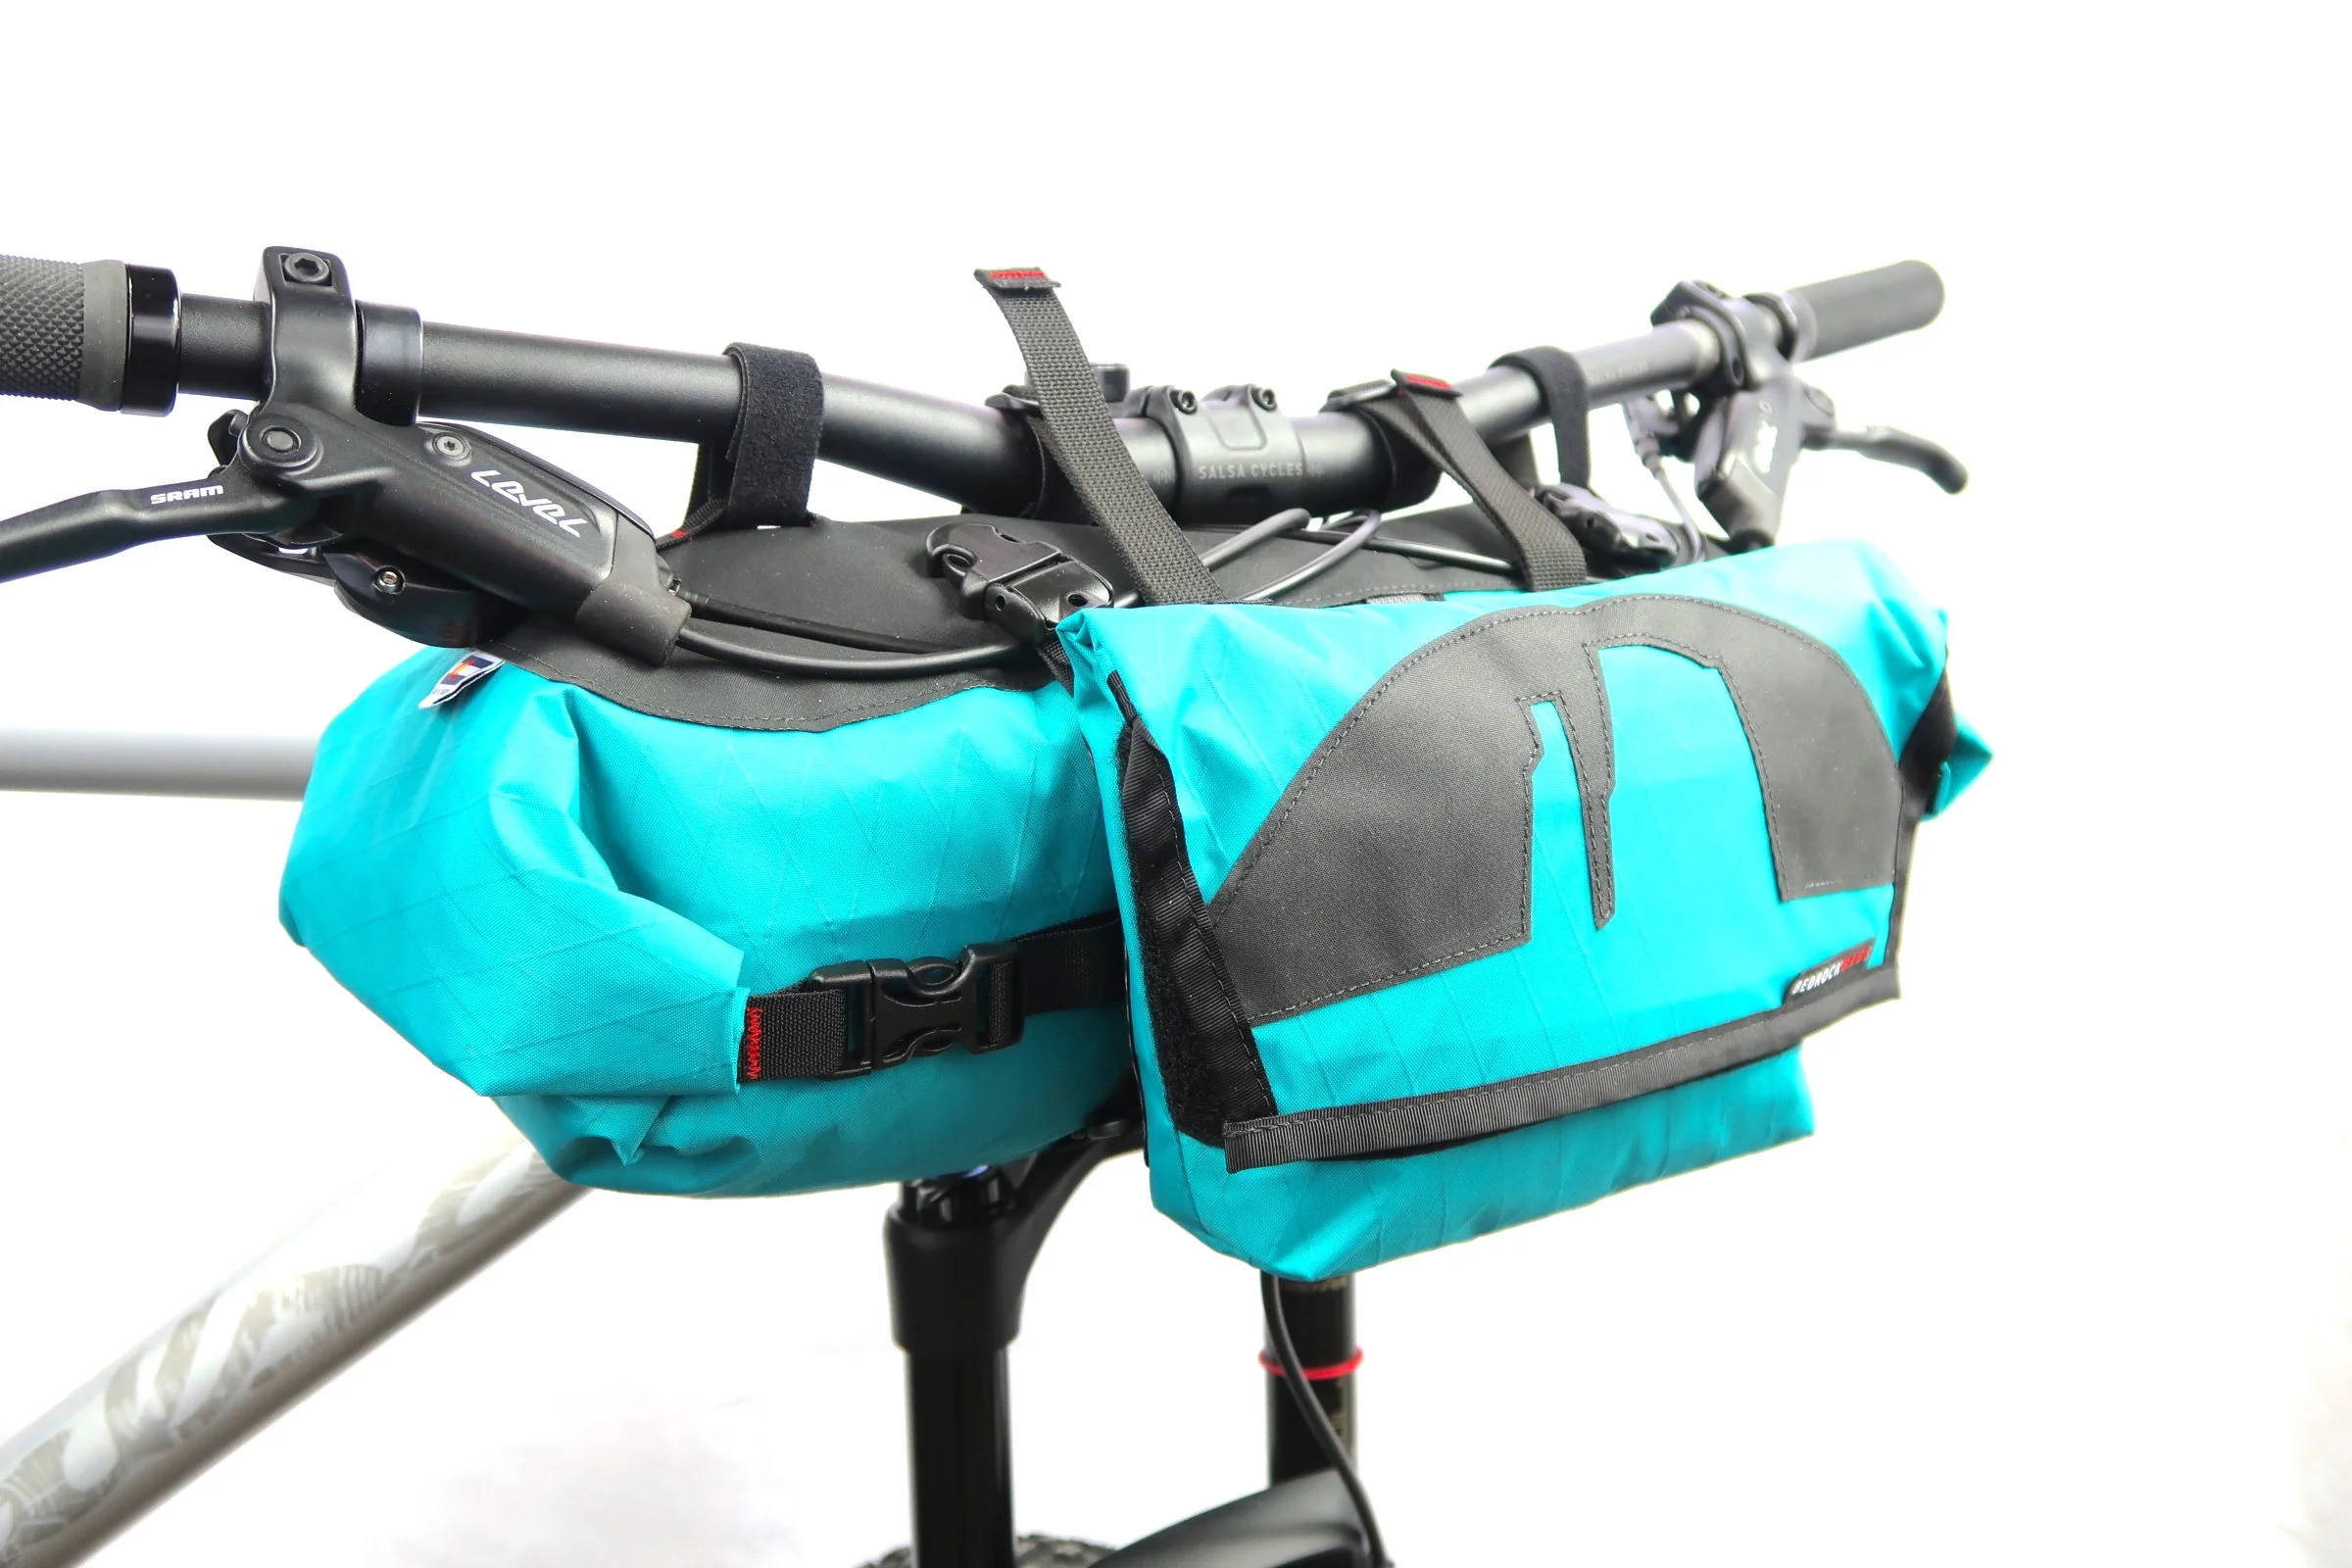
The Entrada's mounting system is simple, easy to use, and very secure. Like all of our handlebar bags, the Entrada nests directly underneath the handlebar and directly against the head tube of your bike. This makes for the best handling possible, as the cargo weight is directly adjacent to the steering axis. The main compression straps compress the entire bag directly to the handlebar, providing a movement-free ride without the use of fragile racks or hard mounts. Love touring technical trails? Go for it – the Entrada abides.
The Entrada's pocket is an expandable folding design that is easily removable, perfect for carrying valuables when you head into the grocery or a restaurant. If you're looking for the most minimalist setup possible, the Entrada body is fully functional without the pocket installed.
Weight: 430 grams / 15.1oz.
Dimensions: The Flat/Riser Bar Entrada's main bag is approximately 6.5" in diameter, is 19" wide when closed, and has approximately 13 liters capacity including the pocket.
The Drop/Jones Bar version is shorter in width and larger in diameter (~17" wide when closed and 7.5" in diameter, about the same capacity) to better make use of the space between the drops on bikes such as the Salsa Fargo, or between the levers on bikes with Jones Loop and similar bars.
Either version can be rolled down narrower than the above measurements if desired. Made in Colorado, USA.
The Entrada works best with stems 70-80mm or longer. For stems shorter than 70mm, see our Moab Handlebar Bag.
The Flat Bar version requires 6.5" between the tire and handlebar; the Drop Bar requires 7.5".
The Entrada is not compatible with center-pull (cantilever) brakes; bikes that have the shift cables protruding directly from the head tube badge aren't compatible.
For use with the Jones Loop bar or the Surly Moloko bar, order the Drop/Jones Bar Entrada, as it fits better between the brake lever position on these bars.
As with most bikepacking gear, the Entrada depends on its contents to define its shape and ride quality. Stuffable items (clothing, sleeping gear) work best. If you do place other items in the main bag you can wrap them in soft goods to mute their edges and make them more packable. Pack tightly and don't be afraid to use the compression straps - they are there to be cinched down!
For installation instructions (very important!), watch the video above.
Step-by-step instructions:
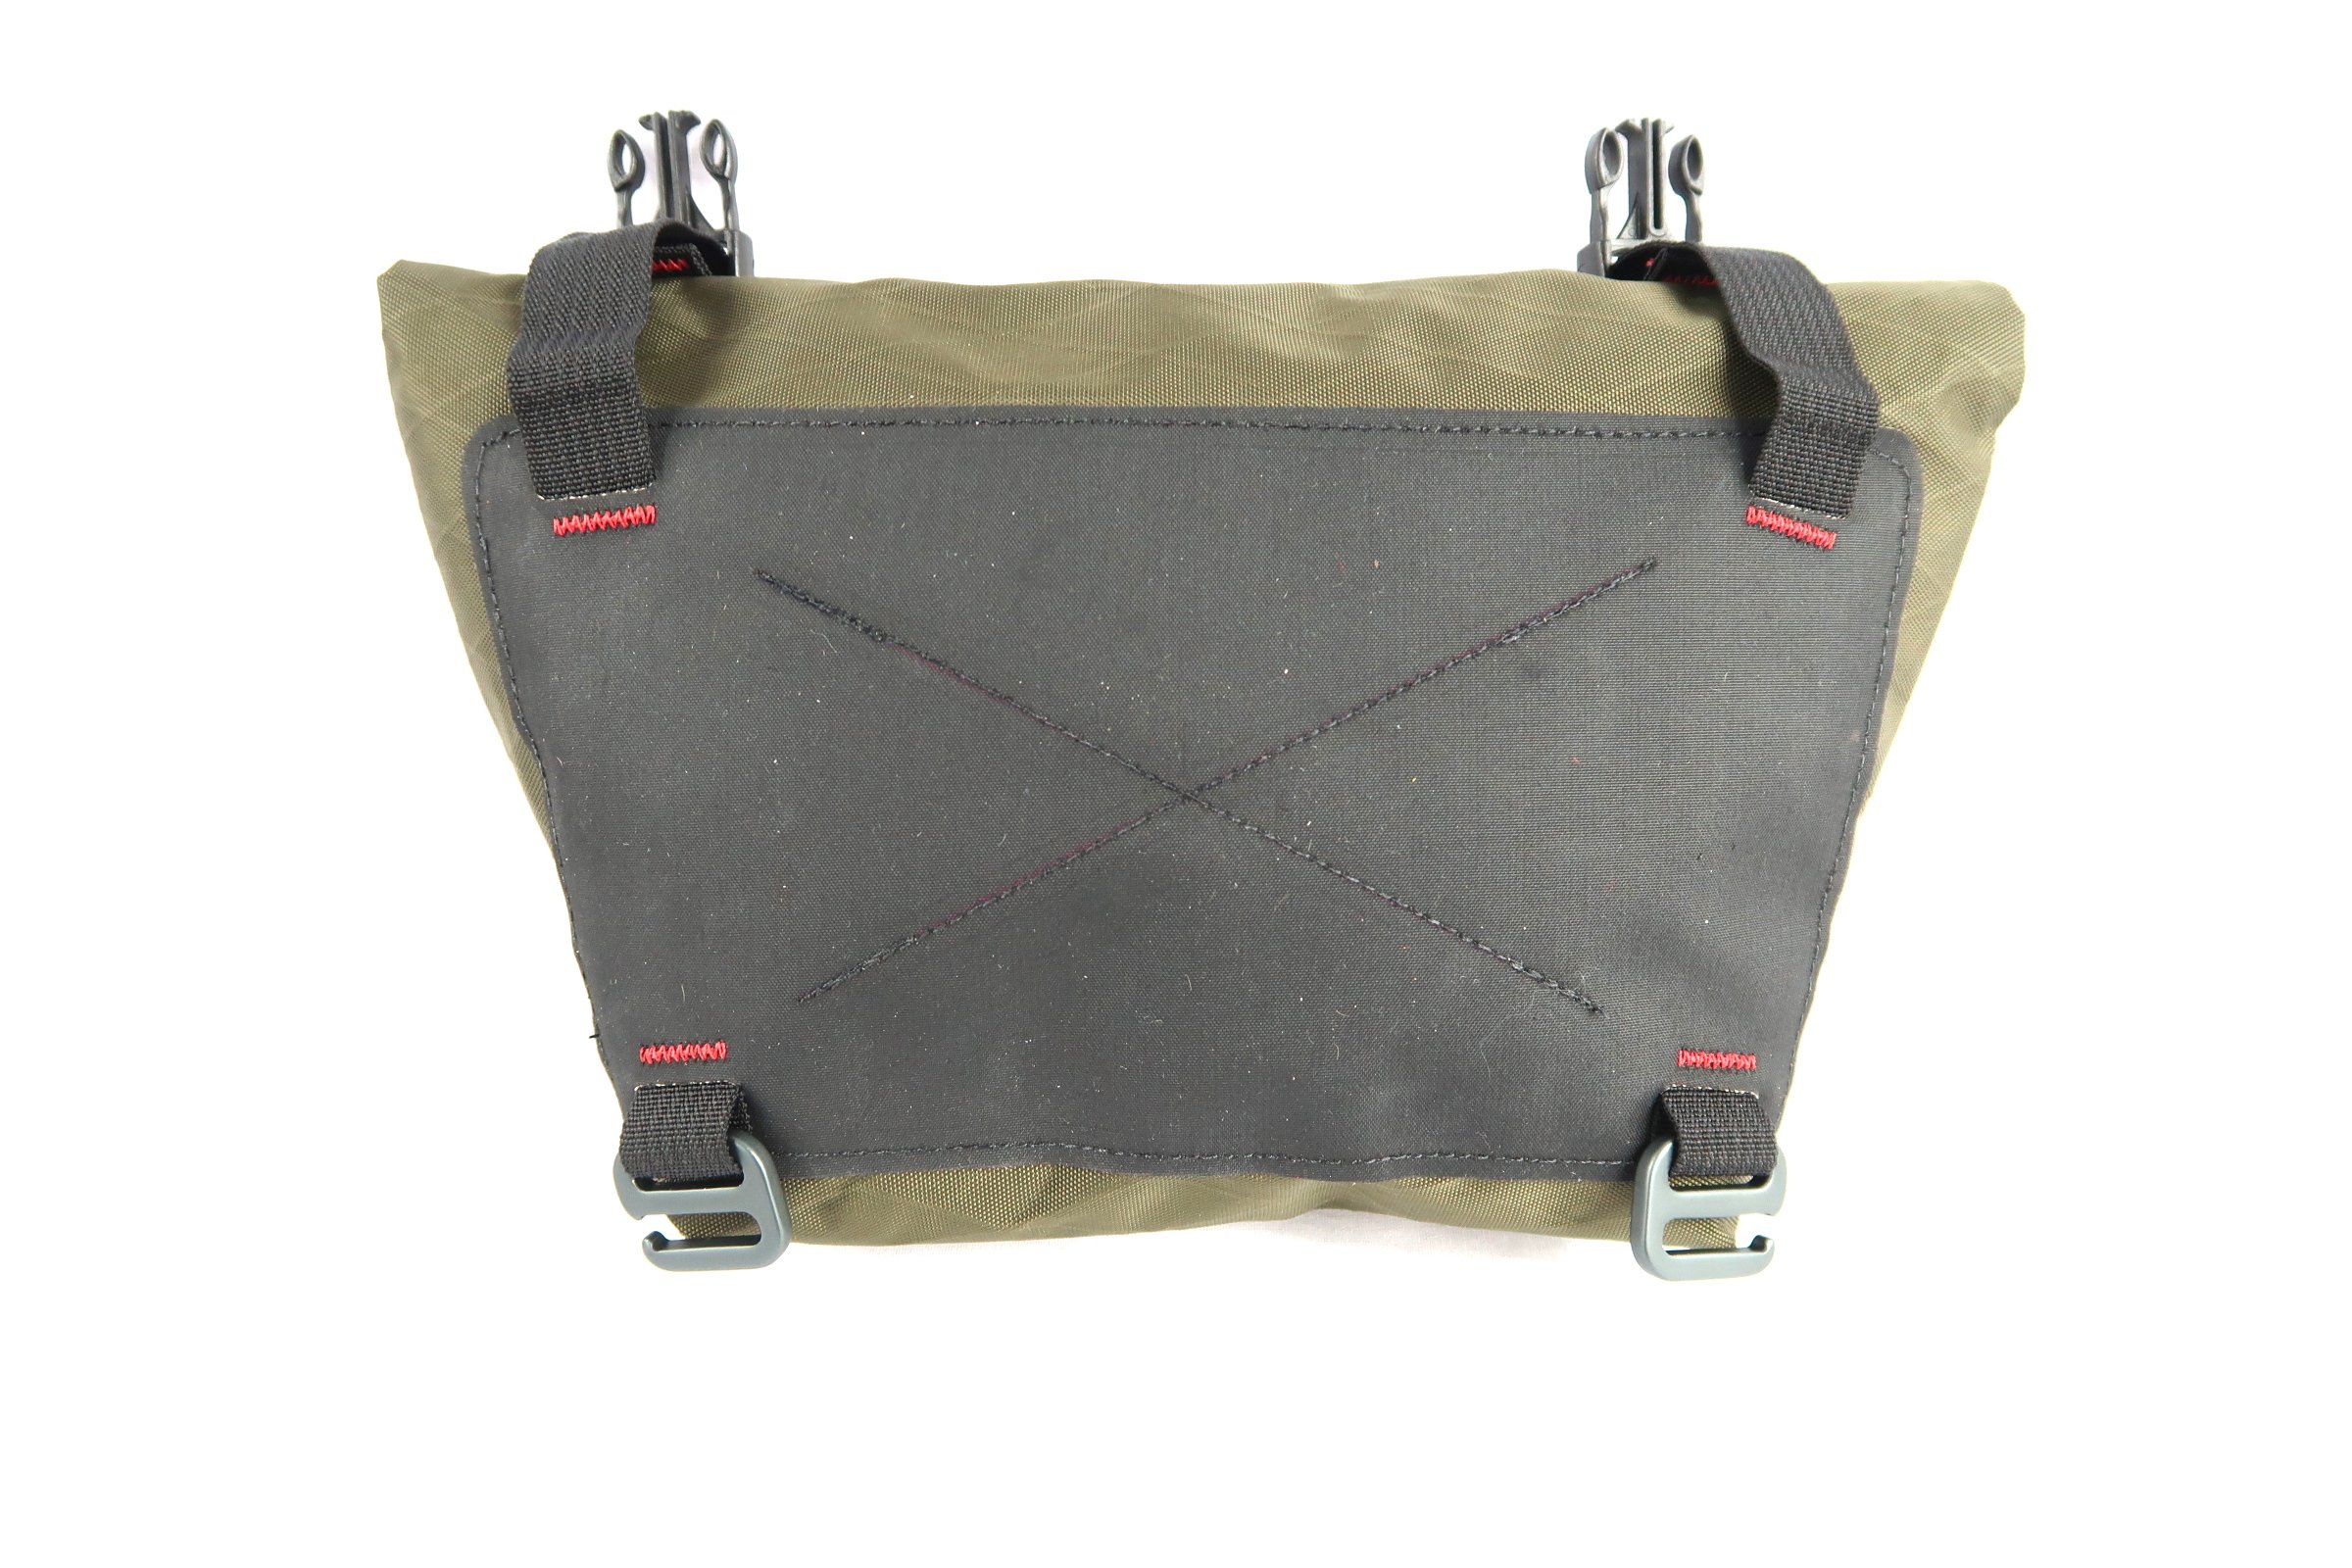
1) Install the harness by holding the large alloy buckles in your hands and letting the rest dangle below. One side of the harness has the webbing straps sewn in an "X"; one side is textured and includes the head tube strap. Place the textured side flat against your head tube, alloy buckles up, then pass each strap behind and over top your handlebar. Fasten the straps to the handlebar on either side of the stem using the velcro threaded through the two small plastic buckles. When done properly, the harness will be sitting just under your stem, with one strap fastened to the bar on either side of the stem, the textured face against your frame, and the two bartacked loops in the ends of the webbing hanging near the tire.
2) Install the head tube strap around your head tube. If you have a large gusset between your top tube and down tube, you can route the head tube strap above or below the frame, around your headset spacers or fork crown.
3) Load the Entrada's main bag - stuffable items work best. Roll down tightly and clip each end's buckles into the corresponding surface-mount buckles.
4) Push all cables and hoses EXCEPT the front brake hose up to the bottom of the handlebar. Place the loaded Entrada main bag under the cables and bar, sandwiching the harness between the main bag and your frame, and strap the ends into place using the velcro loops on top of the bag (you can change the position of these loops as needed). Then pass the large alloy buckles over the front of the bag, pull the bartacked loops on the other end of the harness up, pass the buckles through the loops, and cinch tight. The front brake hose will run over the front of the bag. (Your cables/hoses may need to be routed differently, but this is the method we've found works best.) Make sure the Entrada is centered on your head tube, that the ends of the bag are strapped firmly to the handlebar, and that the harness straps are cinched tightly. You can ride the Entrada just like this for a sleeker, more minimalist setup; but if you want to use the pocket,
5) Place the pocket over the front brake hose and slip the small alloy hooks into the matching daisy chains on the front lower portion of the main bag. You can adjust this position as desired, but the lowest slot is the ideal placement. Clip the pocket's upper buckles into the corresponding surface-mount buckles on the main bag, and tighten. Go ride!